autocad making a 3d revolved object from 2d drawing

Introduction to Circumduct in AutoCAD
AutoCAD is a 2d and 3d computer-aided designing software that Autodesk developed. We have many different types of 2d and 3d commands for making drawings working in this software. In this commodity, we will hash out one of the 3d commands, which revolve command. Y'all can sympathize revolve command as a control through which you can brand a 3d object past revolving any 2d shape along with 10 y or z-centrality or whatsoever particular object. Here nosotros will learn about all the of import features of this command and also get introduce with important parameters of this command for getting the best event in our work.
How to Use Revolve Control in AutoCAD?
We tin use revolve control in auto cad in a few simple steps without whatsoever problem. Before learning about this topic, permit us understand the working screen of this software to better sympathise this topic.
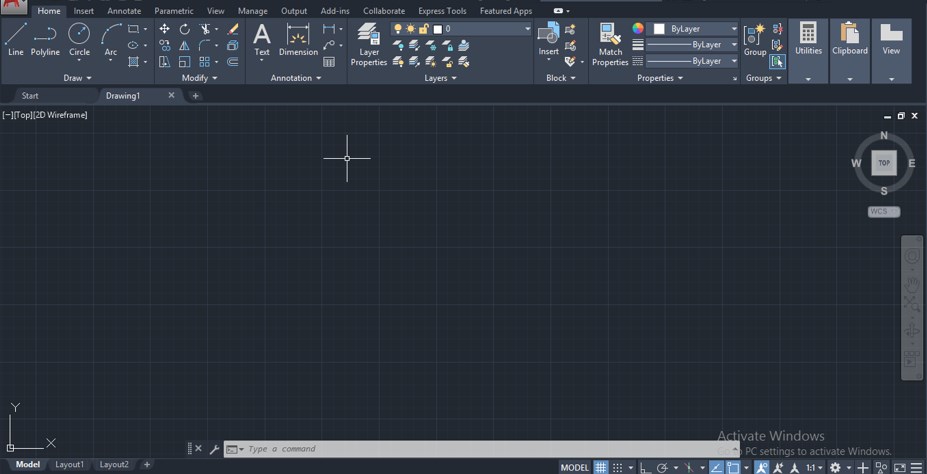
Footstep 1: At the top of the working screen, we have a ribbon which has many different types of tabs such every bit Home tab, View tab, Insert tab, Annotation tab, and some others; below this, we take a working window in which we can see our current working, below this working window we have some navigation tabs for making our drawing work easy in this software.
Footstep 2: Now, we accept to alter the workspace screen of this software to 3d bones for 3d commands for revolve control considering revolve is 3d command. Then for changing the workspace screen, become to the workspace switcher selection, which is on the right side of the bottom end of the working screen. Now click on the workspace switcher option and choose 3d basic option from the list by click on information technology.

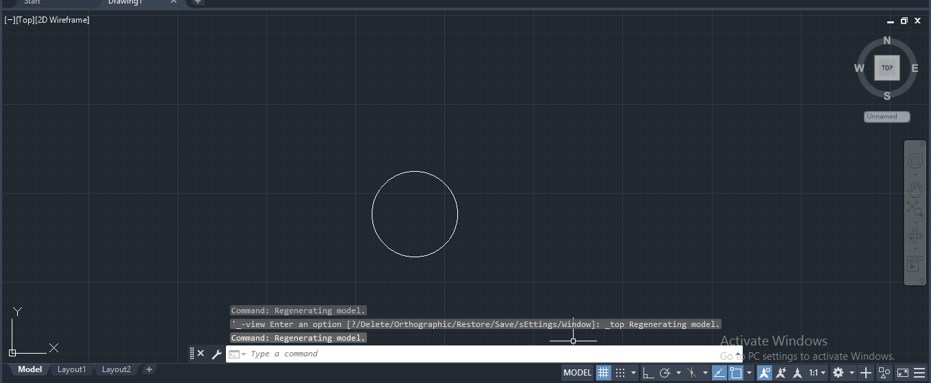
Step iii: Now, let us make a circle in the front end view of this software by circle control.
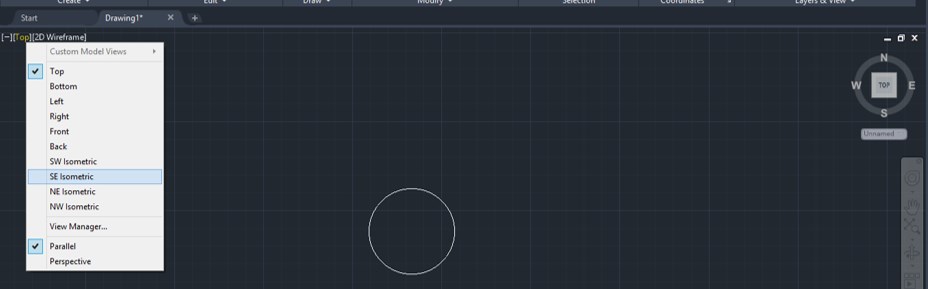
Step 4: Now, permit us alter our view from this View control option. And so click on this choice and choose SE Isometric options from the list.
Footstep 5: Now go to Create tab of the Home menu of the 3d basic workspace screen and click on this icon which revolves command for having revolved command active.

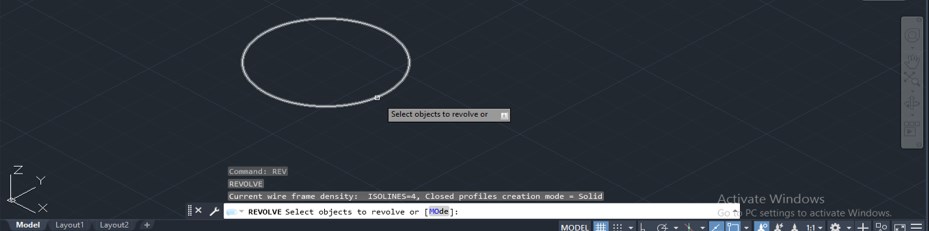
Step half-dozen: You lot can apply a shortcut key for revolve command, which is REV, then press the enter push button of the keyboard for having revolved command agile.

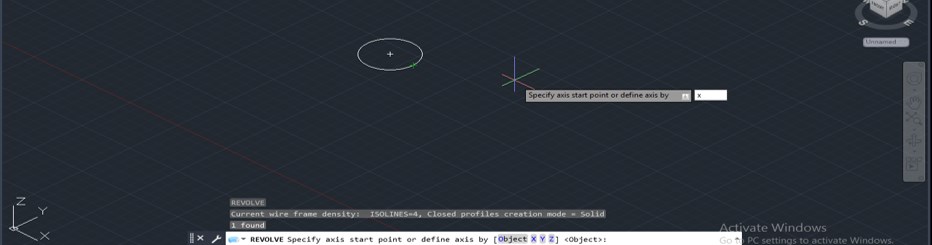
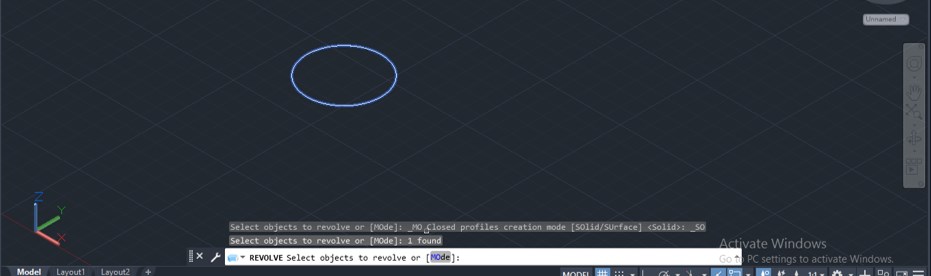
Step 7: Now, it volition ask you lot to select the object. So click on the purlieus of this circle for selecting information technology.
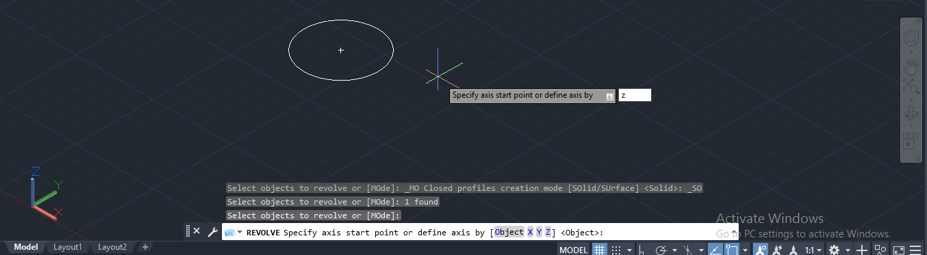
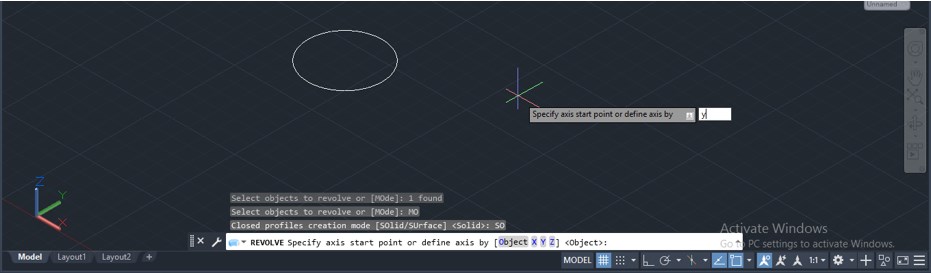
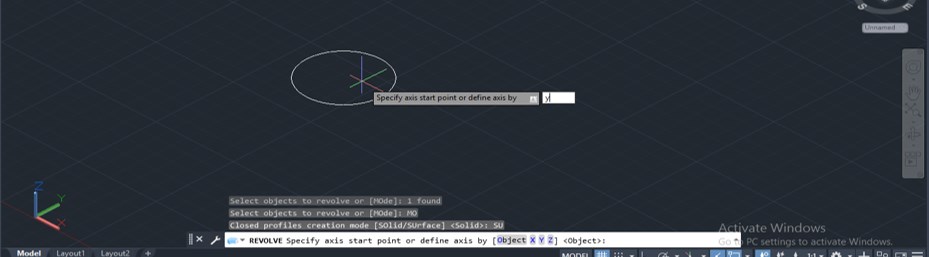
Step viii: So it will inquire you lot to give the axis in which you want to revolve your object. I will requite the x-axis so press the enter button on the keyboard.
Step nine: And your object volition circumduct similar this.
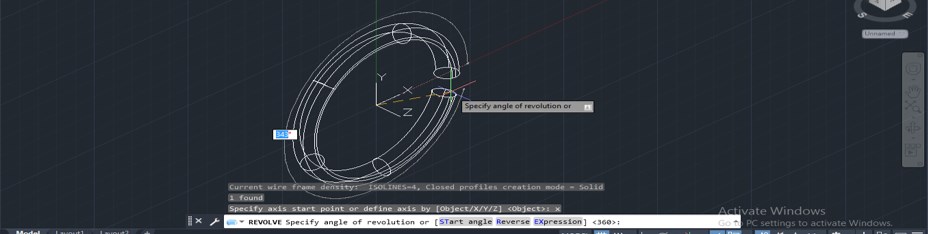
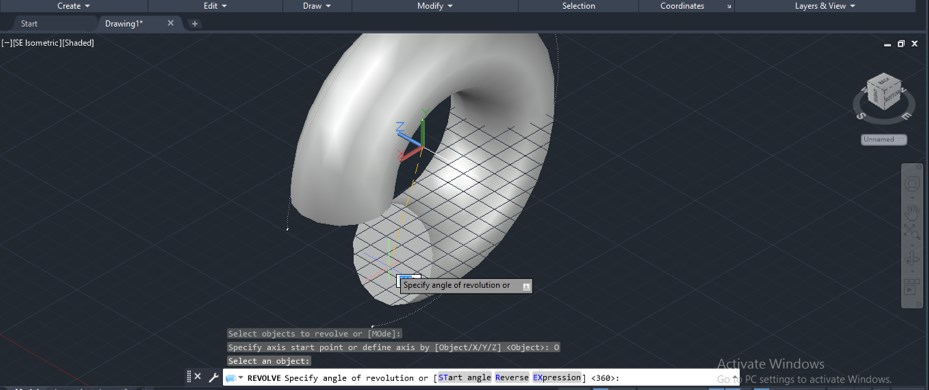
Pace 10: At present, it will ask you lot to enter the value of revelation at which you want to revolve your object. I will enter 360 degrees as a revolution bending. You can take it co-ordinate to yous.
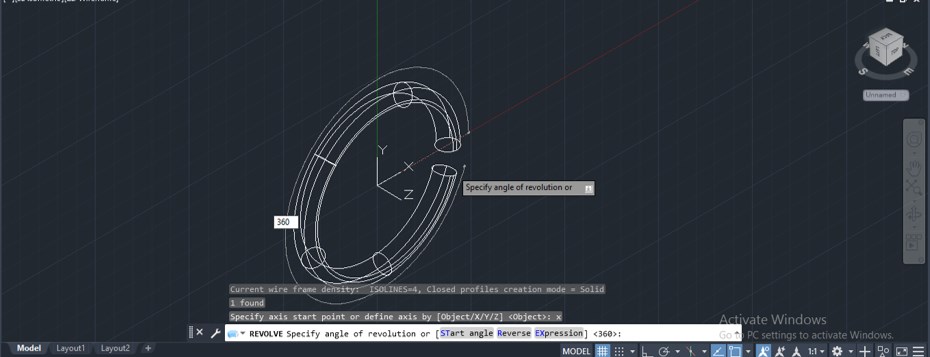
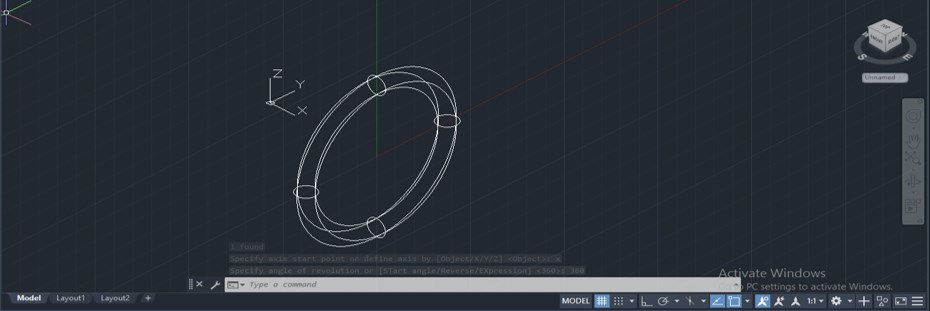
Footstep 11: And your object will revolve like this. This is a 2d wireframe view of this 3d object.
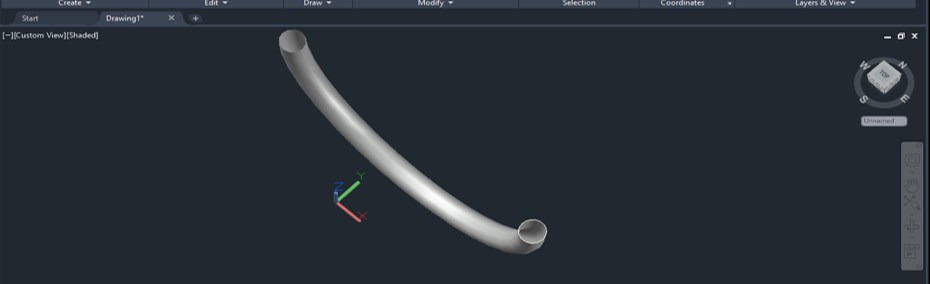
Step 12: You can change it into a shaded view from this software'south view mode option, which is at the top left corner of this working screen.

Step 13: And your object will look like this in shaded course.

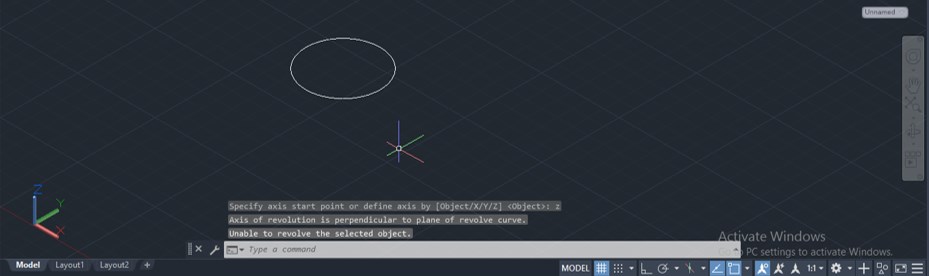
Footstep 14: You cannot circumduct your 2nd shape in the aforementioned plane of the object. For example, I drew this circle in the z aeroplane, and when I want to revolve it in the z-axis past specifying the z-axis of revolution in revolving control, then press the enter push of the keyboard.
Step 15: Then, after pressing the enter button of the keyboard, you lot can run across the control volition bear witness this message that the axis is perpendicular to the object, so it cannot revolve.
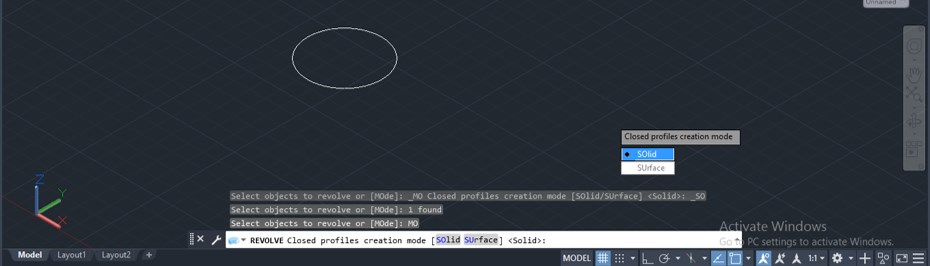
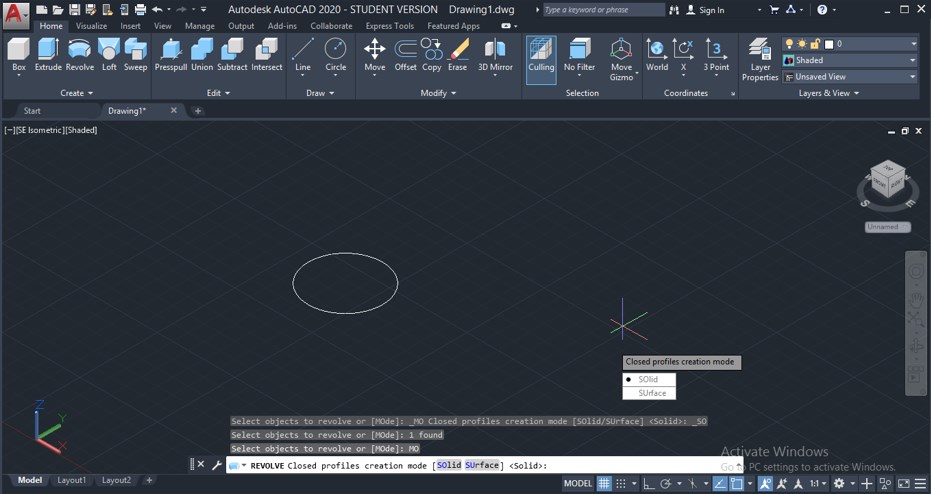
Step 16: Now, let us discuss other options of this command for our meliorate agreement of this command. Over again have revolve command. Then click on the Mode option of the parameters box of this command.
Stride 17: Now, there are two options in the manner pick of this control that is Solid and Surface. Let us understand both ane by one. So I will click on the solid option showtime.
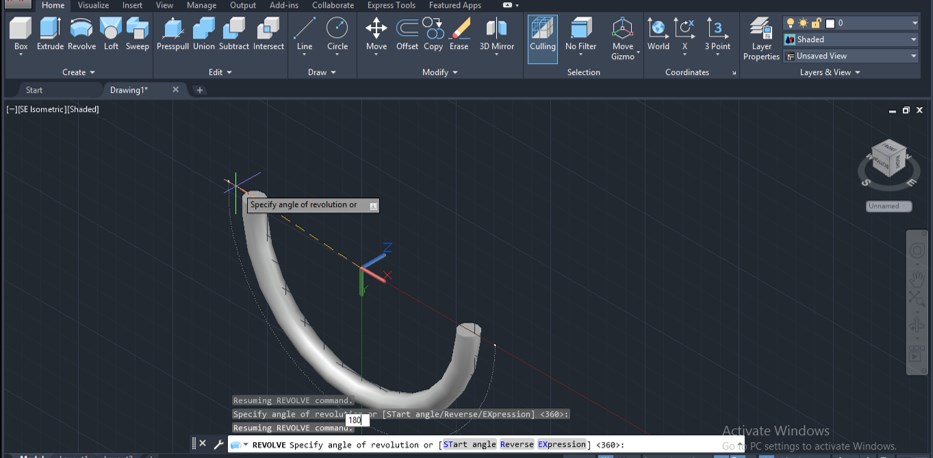
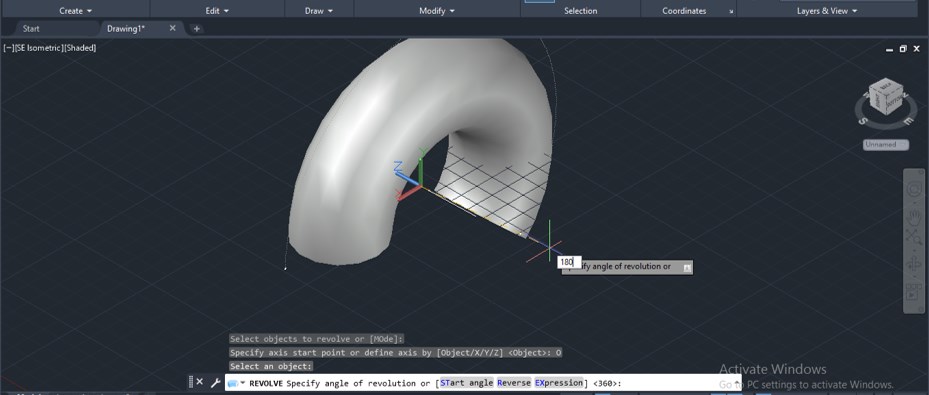
Footstep eighteen: Now, it will ask y'all to requite the centrality you lot want to revolve. I will give the Y axis then press the enter button of the keyboard.
Step nineteen: And it will circumduct like this. Now enter the angle of revolution. I will give it a 180 degree.
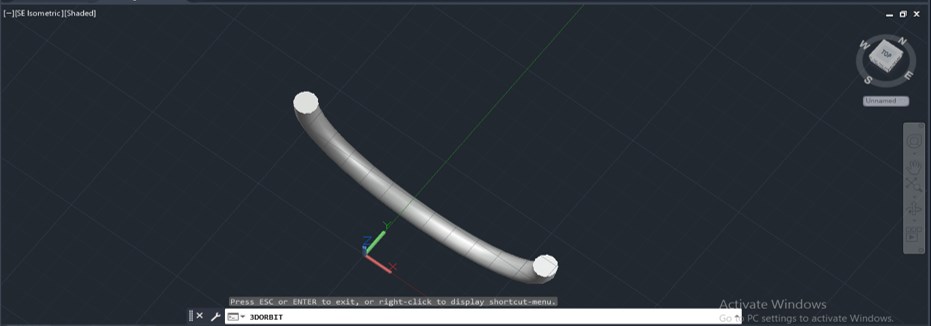
Pace 20: Now, when you lot orbit this 3d shape, you can come across it is a solid shape. So with the solid choice, you can make a solid 3d shape.
Stride 21: Now over again, have revolve command, follow the same steps, and then choose the Surface option in the way pick.

Step 22: Again, give the axis of revolution, then press enter button of the keyboard and and so the bending of revolution.
Footstep 23: Now, when yous orbit this shape, you can see this is the hollow shape. So with the surface pick, you tin make only the surface of any object.
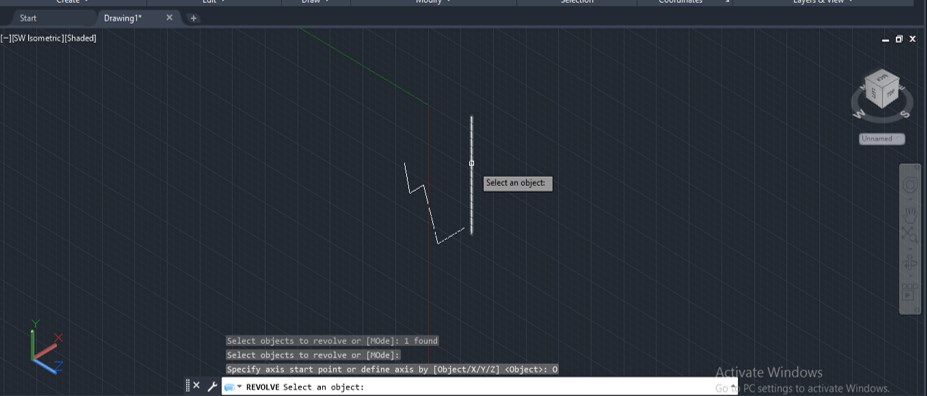
Step 24: Now, allow us again accept circumduct command can select this circle, so press the enter button of the keyboard; you can see ii options in the parameters section of this command, so choose the object option from this list.
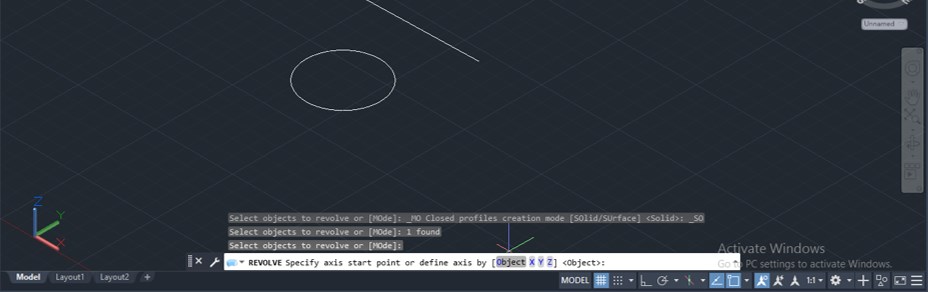
Footstep 25: At present, it will inquire yous to select the object around which you desire to revolve information technology. I volition click on this line.
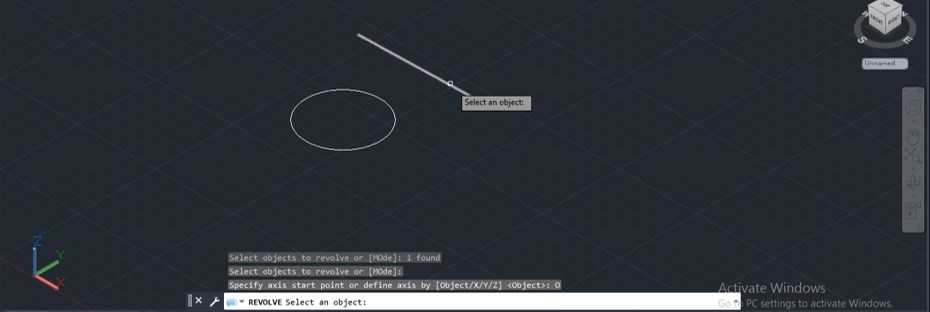
Footstep 26: And your object volition revolve around this line similar this.
Step 27: Y'all can give the value of the angle of revolution according to you.
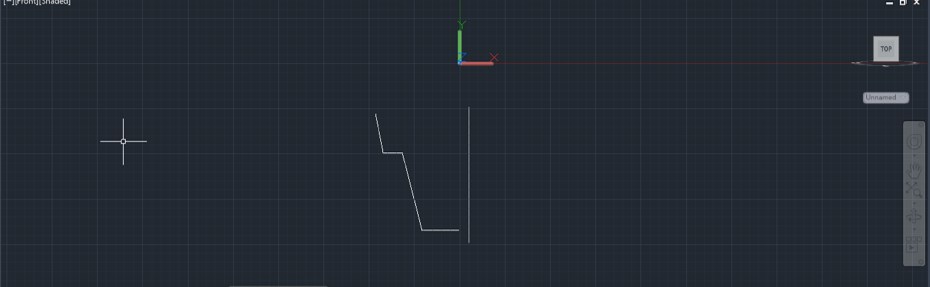
Pace 28: You can make cute objects with this revolve control. I draw a 2d shape like this. Brand sure the shape which you want to revolve should connect in ane object.
Footstep 29: Now, change the view to the SW Isometric view.
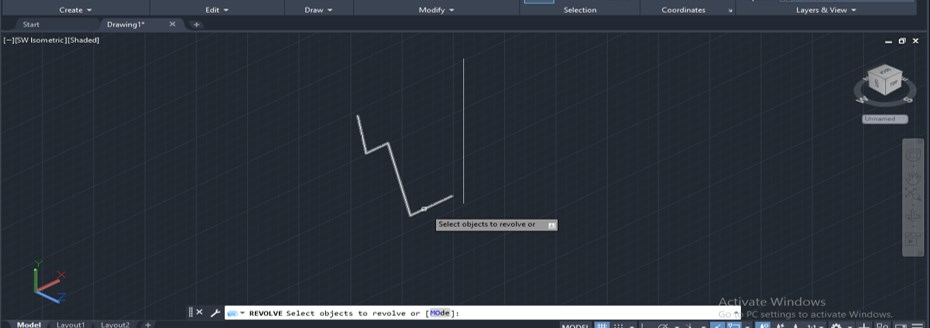
Step 30: And again, take circumduct command and revolve this shape effectually this line.
Footstep 31: And your shape will revolve similar this.
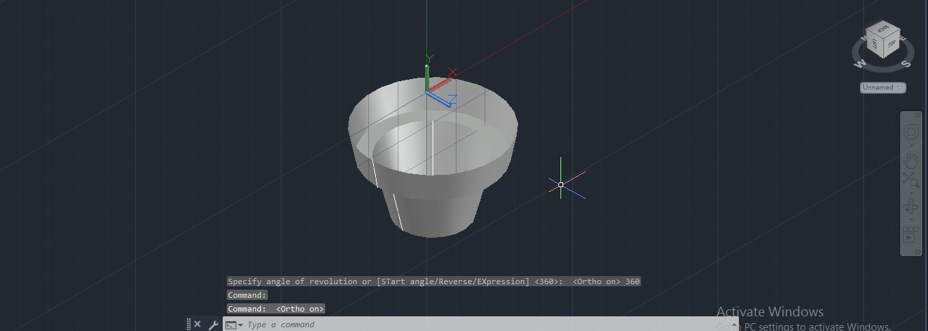
Pace 32: So, in this way, you can make an object with this command.

Recommended Articles
This is a guide to Revolve in AutoCAD. Hither we discuss the Introduction, how to utilise circumduct command in Autocad and how you can apply information technology for making a 3d object by using its important parameters. You can also go through our other related manufactures to learn more than –
- Insert Epitome in AutoCAD
- Layout in AutoCAD
- AutoCAD Architecture
- Toolbars in AutoCAD
hollandwhatumbigh.blogspot.com
Source: https://www.educba.com/revolve-in-autocad/
0 Response to "autocad making a 3d revolved object from 2d drawing"
Post a Comment